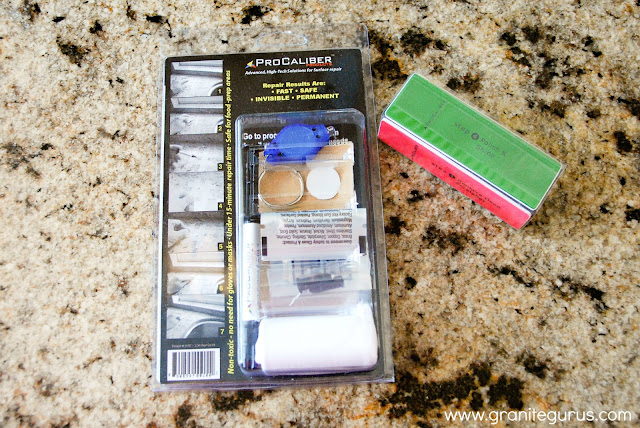
I finally had time to test it out this weekend and I'm excited to show you the results!
 |
| Photo: MGS by Design |
If the scratch or nick is not very deep this kit will probably not work, but it doesn't have to be huge either. It just has to be big enough for the acrylic to get into it and adhere.
I grabbed a granite sink cut out of Juparana Persa granite that we had in one of our dumpsters.
The picture below is just showing that overall the piece had a high polish and there weren't any scratches or nicks in it...yet.
 |
| Photo: MGS by Design |
So I took the Juparana Persa sink cut out and decided I would just chip it myself.
Honestly it really wasn't easy!
I tried a few different methods and nothing was hurting it.
I ended up using the backside of a hammer and that worked well enough. I had to dig the chip out a little more with a nail, but I finally made a decent sized divot in the stone.
I took this as good news though....see how durable granite is!?!
 |
| Photo: MGS by Design |
 |
| Photo: MGS by Design |
The kit includes this handy little applicator. You just apply a sufficient amount of the Acrylic Gel to completely fill the damaged area. You want it to be slightly raised, but be careful not to overfill.
 |
| Photo: MGS by Design |
Next you turn on the Curing Light (which is also included) and you hold it over the area for about 3 minutes.
Then you take off the Curing Strip and lightly sand the area again.
Last step is to polish it out. They provide a Polish and Microfiber Buffing Cloth that you apply to the area and polish it up. That's it!
It really was a quick and easy process. I did it all while a batch of cookies was baking in the oven. They were in for 9 minutes, so I know it took me less time than that!
Below is the final result. Can you even see the nicks?
 |
| Photo: MGS by Design |
If I look close I can see where the acrylic gel is. But I would definitely rather see a clear spot than to see and feel the nick in the stone. And I'm sure no one else would ever notice it.
I would use this in my own home if I ever get a nick or chip in any of my granite or limestone.
And I would definitely recommend this to customers.
The kit they sent me is $24.99 on their website. If our company was to come out and do a similar repair in a home we would charge about 5 times that. While it may not be as perfect as what we would do, it is definitely great for the cost savings.
If you use this repair kit I'd definitely recommend watching the videos on their website first. The kit does come with more detailed instructions, but the videos helped me a lot.
Be sure to check out their website ProCaliber Products. Also, the videos are here.
Thanks to ProCaliber Products for letting me try out the Repair Kit!
*ProCaliber Products provided me the Granite/ Marble Chip Repair Kit for free. The opinions are all my own.


No comments:
Post a Comment